Making hammers involves several key steps, typically starting with forging or casting the head and then attaching a handle. Here’s a general process for making a basic hammer:
Materials Needed:
- Hammer Head: Steel or iron.
- Handle: Wood (such as hickory or ash), fiberglass, or metal.
Steps:
- Forging the Hammer Head:
Metal Selection: Use a high-carbon steel for durability.
Heating: Heat the steel in a forge until it becomes red-hot and malleable.

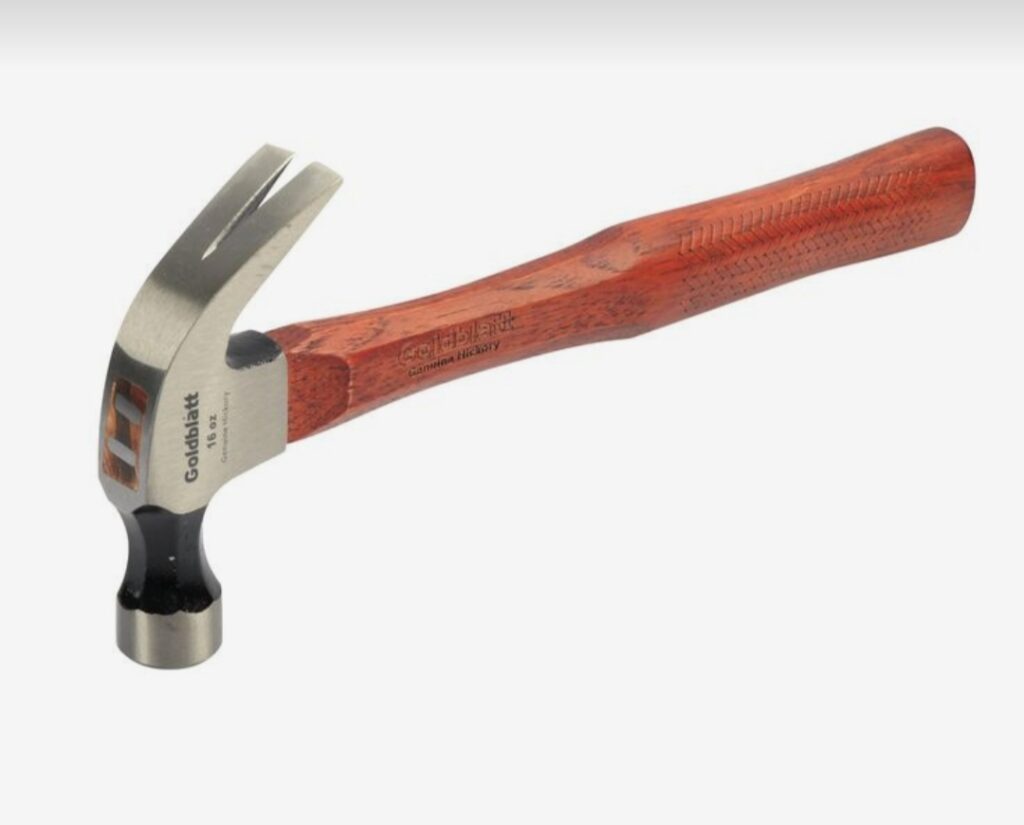
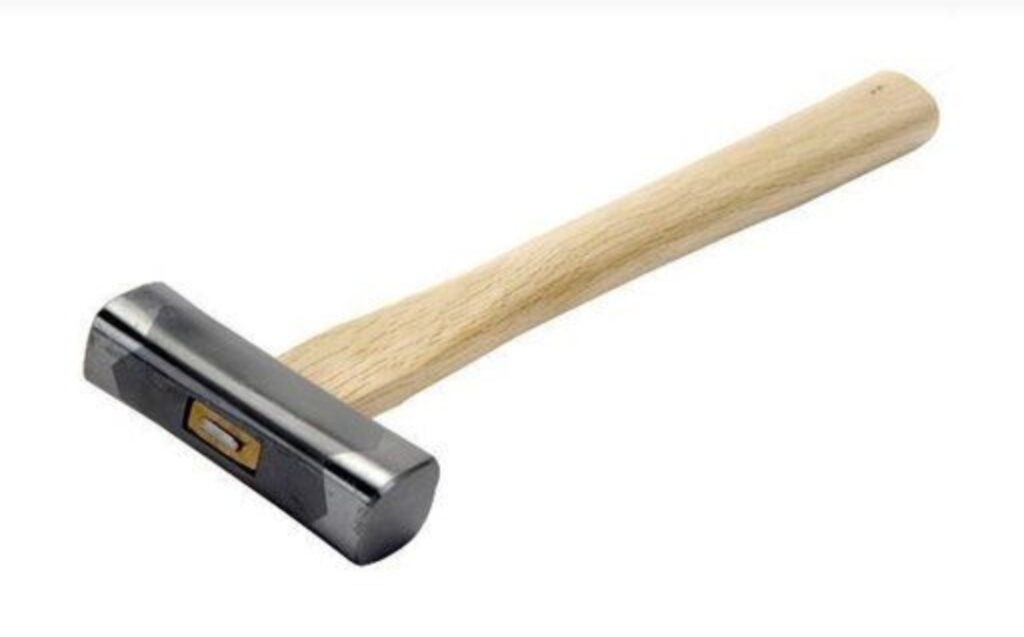
Shaping: Use a hammer and anvil to shape the head. The head typically consists of a flat face on one side (for striking) and either a claw or a peen (round or pointed side) on the opposite side.
Punching the Eye: Use a punch to create a hole (eye) in the head for the handle.
Heat Treating: Heat the head to a high temperature and then quench it in oil or water to harden the steel.
Tempering: Reheat the head at a lower temperature to reduce brittleness and give it toughness.
- Finishing the Hammer Head:
Polishing: Smooth and polish the striking surfaces of the hammer head to reduce wear and tear.
Coating: Apply a protective coating, such as oil or paint, to prevent rusting.

- Making and Fitting the Handle:
Shaping the Handle: Carve or shape the handle from wood or use pre-made fiberglass or metal handles. Ensure it’s ergonomic for comfort and grip.
Fitting: Taper the end of the handle that will go into the hammer head (the eye). The handle should fit snugly into the eye.
Securing: Wedge the top of the handle after it is inserted into the eye to lock it in place. Wooden handles often use metal or wooden wedges to expand the top part and secure the head.

- Assembly and Testing:
Ensure the head is tightly fitted on the handle.
Test the hammer by performing a few strikes on a hard surface to check for durability and performance.
This process applies to traditional hammer-making techniques. Modern manufacturing often involves casting the head and using advanced materials for mass production.